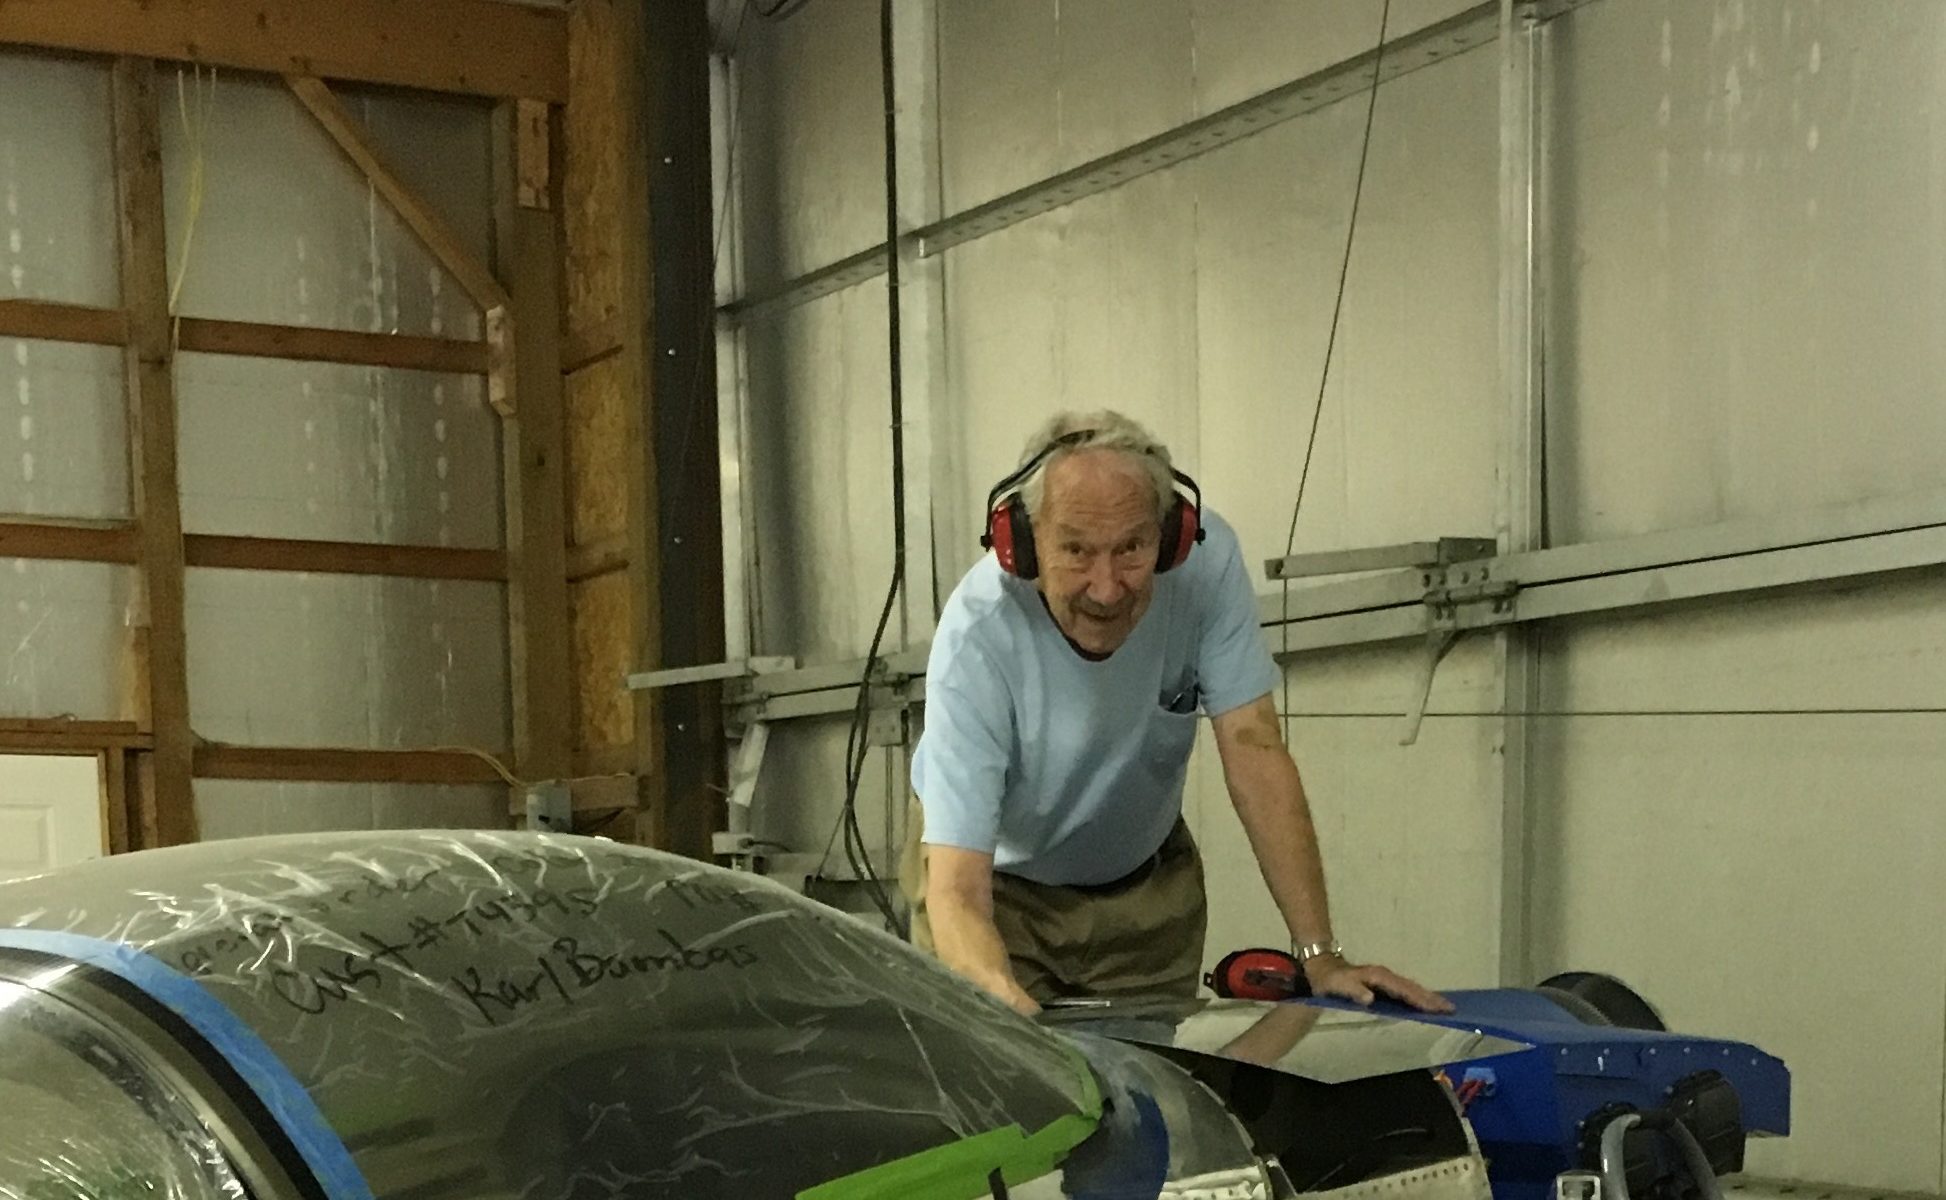
Could not yet see the light at the end of the RV7 build, but knew it was getting closer. The list of accomplishments in the interim included:
- Fastening the fuel tank “break away” tabs to the fuselage on each side.
- Fabricating and installing the short fuel vent lines and connecting fuel supply lines between the wing and the fuselage
- Making up brake lines with Berringer fittings to go from the firewall down to the wheel brakes.
- Filling the brake calipers and lines up from the bleader valves to the reservoirs over the master cylinders
- Final fastening the PAX baggage floor and PAX seat pan to underlying ribs with machine screws. This and other tasks may sound simple, however I found them to take significant time.
- Finished wiring the flap motor and position sensor
- Installing a quick drain valve on the left front oil sump drain.
- Installing Clasic Aero aileron push-rod boots to seal out cold air.
- Installing SCAT tubes from NACA air scoops to the instrument panel outlets
- Timing of the PMags
- Fitting the cylinder baffles and using the “Paper clip” method to trim the baffles 1/2″ from the cowl
- Fitting the oil cooler to the right rear engine baffle; doing the install and connecting oil lines
- Cuting and glassing the engine air intake snorkle between the air filter and the fuel servo
- Installing the ignition wire protectors that I designed last winter
- Closing up the six inspection ports in the wing bottom skins
- Installing an alternate air door into the snorkle with control from the instrument panel
- Installing all interior cover panels, baggage rear wall and pilot seat pan
- Sealing the engine to baffle gaps with Blue RTV
- Installing wing to fuselage faring strips
- Installing seat belts
Whew, and that’s not all.
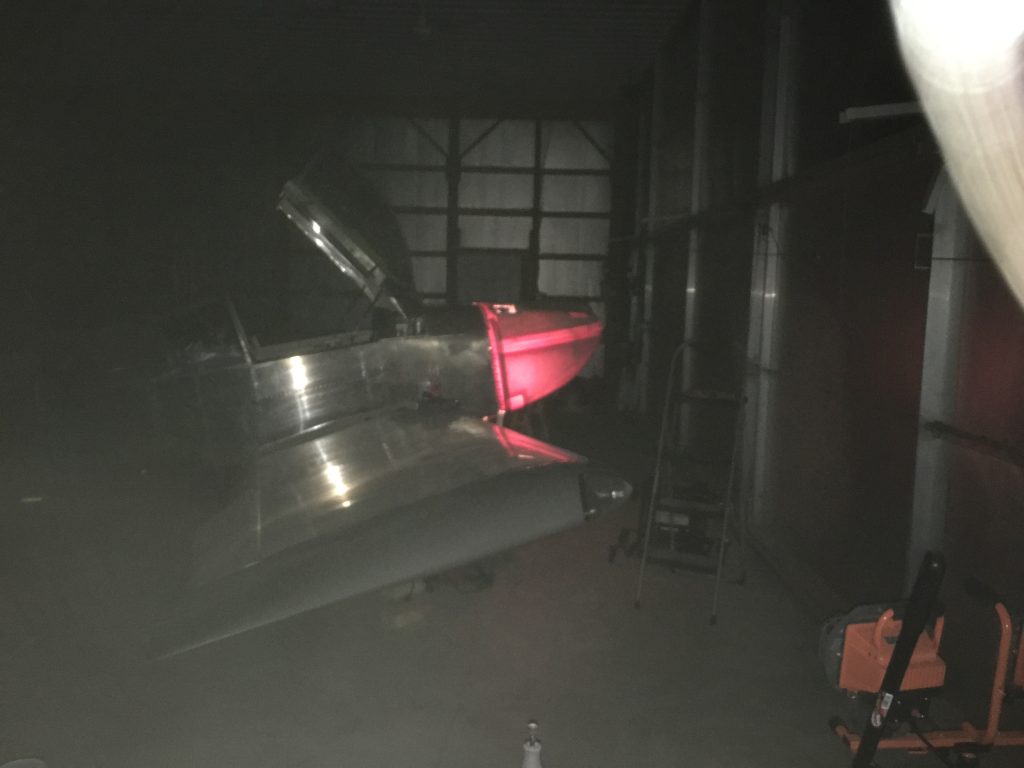
The Vans upper and lower cowl halves had to be trimmed to fit each other and the fuselage firewall. For October 30th we had a Halloween Lantern.
The cowl interiors were painted with three coats of white two-part epoxy.
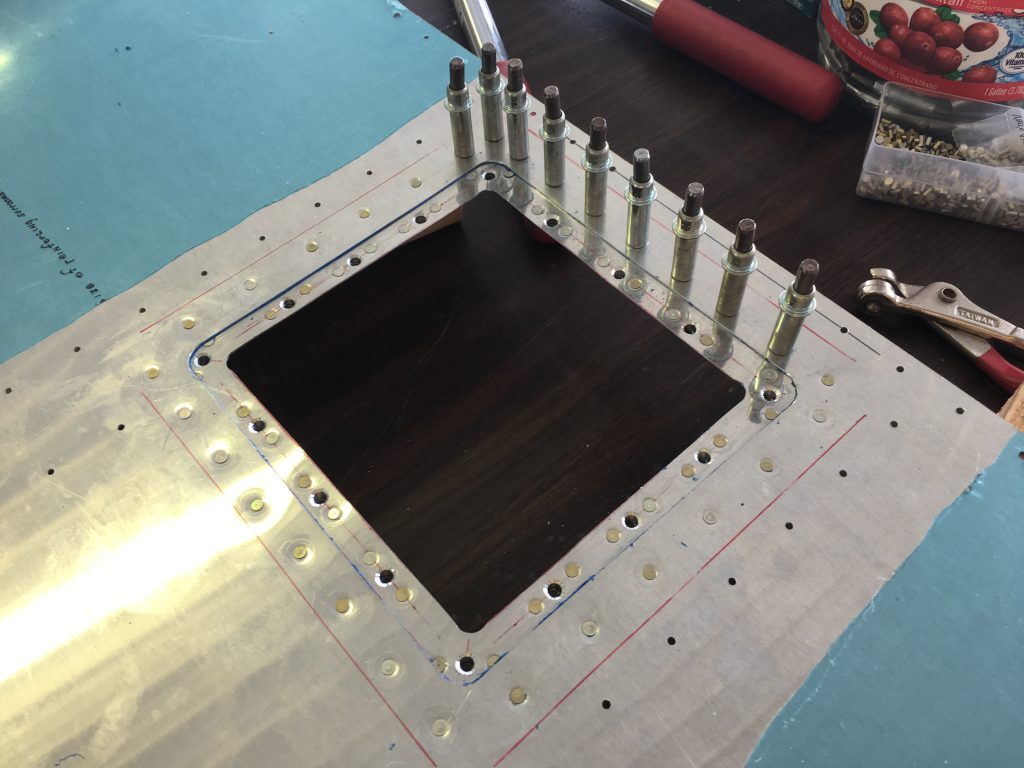
I copied the practice of many Vans builders and cut an inspection port into the upper skin in front of the canopy. This provides access to the break fluid reservoirs, the voltage regulators and the forward sockets of the VPX power box.
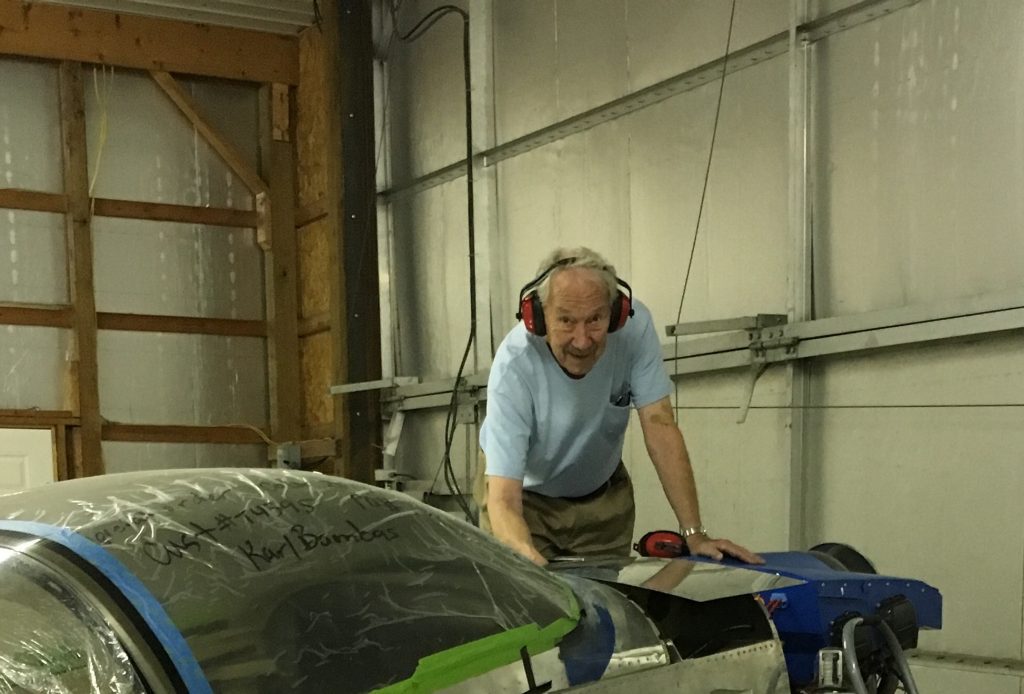
Another deviation from the Vans standard is that I fabricated and installed a plenum cover over the top of the engine, rather than the usual flexible baffle strips that seal the baffles to the top cowl.
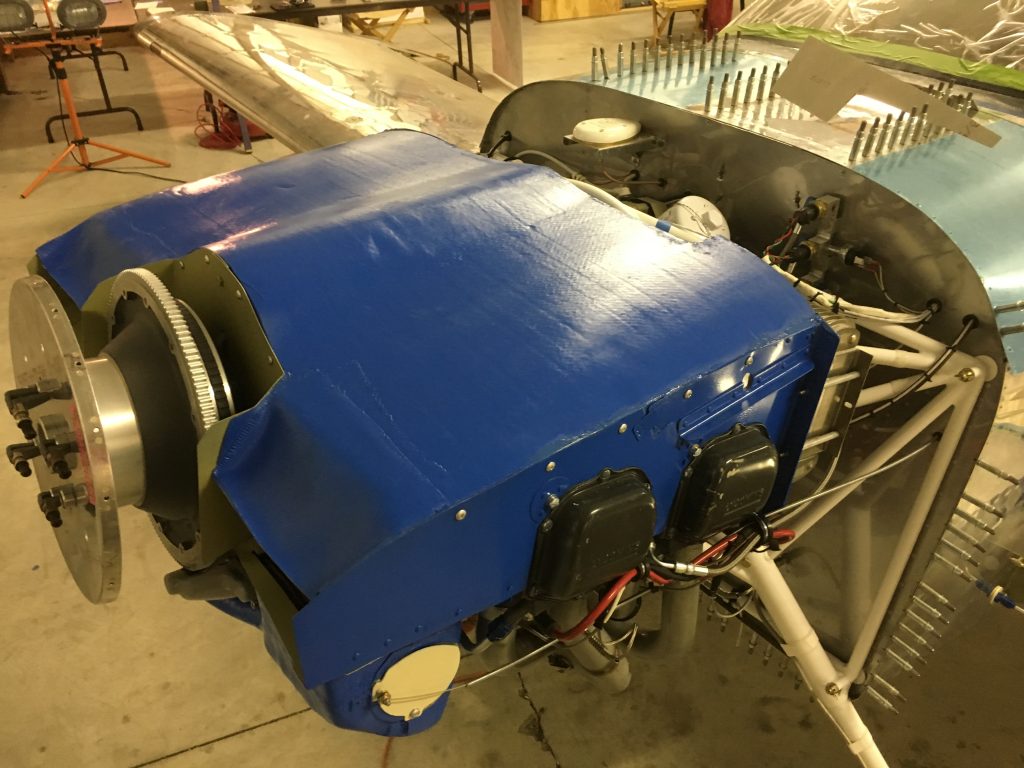
The potential advantages of a plenum in cooling efficiency and reduced wear on the cowl have been often debated on the Vans Airforce website forums. Casting of the plenum was discussed in an earlier post.
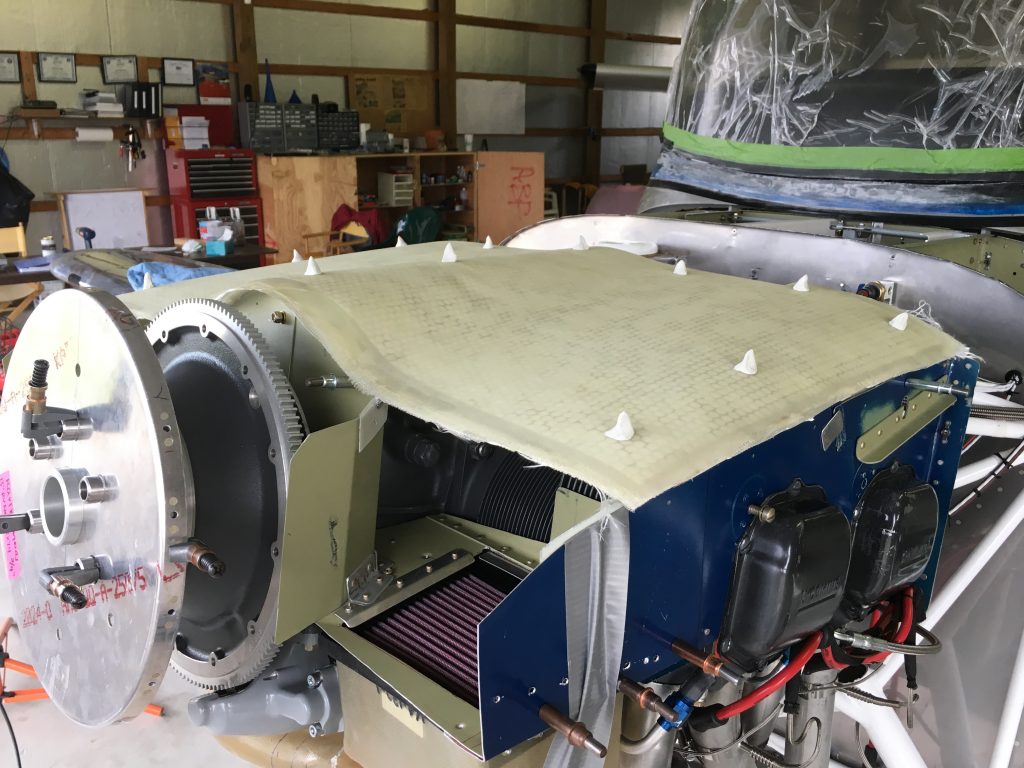
Clay risers were set on the plenum to verify 1/2″ clearance from the cowl.
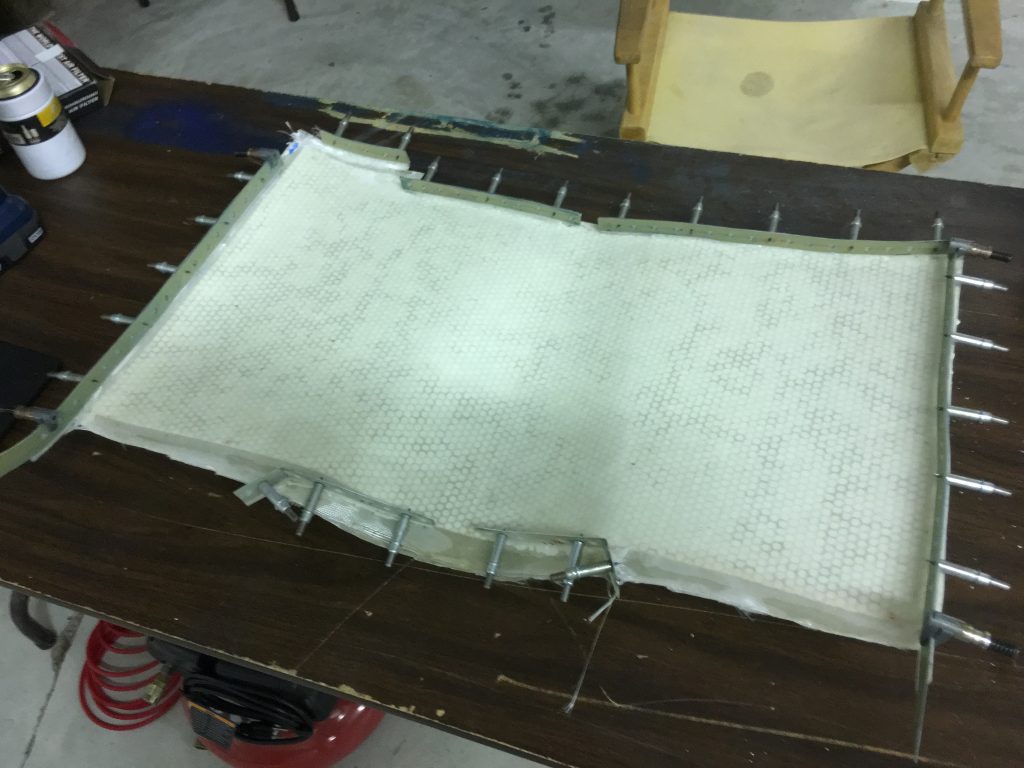
Aluminum and fiberglass edges were set with platenuts for fastening to the engine baffles.
-

Catto Propeller The Catto three blade wood/carbon fiberglass propeller was installed. Specifications:
- 68″ diameter
- 74″ Pitch
- Nickle leading edges
- Design RPM 2750
- Red Line RPM 3300
Prior to first engine start start the fuel tanks were calibrated and a weight and balance prepared. Both of these steps will be repeated as the W&B indicates a heavier spinner ‘crush plate’ will be needed to move the center of gravity further forward.
