01/18/15
Dolly and I started construction of the RV-7 empenage on November 4th after voting. 72 days later (70 shop days) the tail feathers are assembled except for the fiberglas tips that will be attached later.
This post is the story of building the elevators.
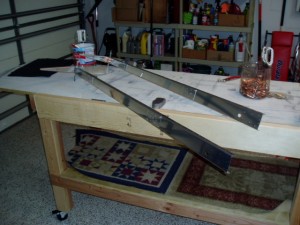
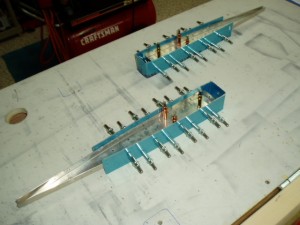 The right and left elevators are identical except for a pitch trim tab that sits in an inboard cutout in the left elevator. Construction starts with the spars and is similar to the rudder,
Counterbalance arms containing lead weights are attached on the outboard edges of the elevators
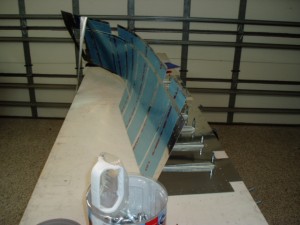 Center portions of the skins are reinforced with angle strips rather than ribs. The strips are match drilled to the skins. Both are deburred and dimpled before priming.
Rivets are held in place by amber colored rivet tape before being back riveted onto the skins. 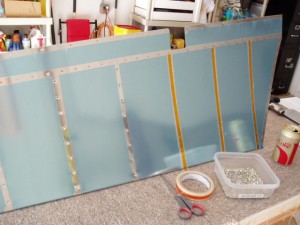
The trim tab on the left elevator has tabs on each end that must be bent to overlap.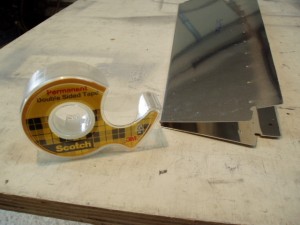
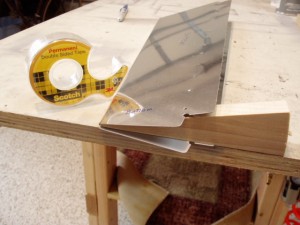
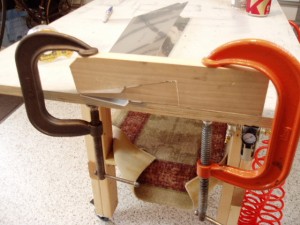
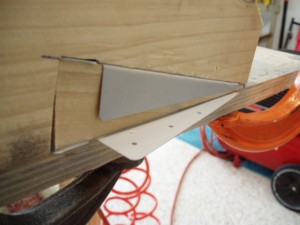 Double sided Scotch tape sticks the aluminum trim tab to the table and to the wooden blocks to prevent movement during the bending process.
All is held together with “C” clamps.
Bending can be done by another wood block and a hammer, or by a low pressure rivet gun with a mushroom set. I found the block and hammer to work best for me.
During construction of the empenage we did not ruin any parts and have to purchase replacements. I did however become an expert at drilling out bad rivets.
So, on January 15th the tail feather aluminum work is complete and packaged for transport to Michigan next spring.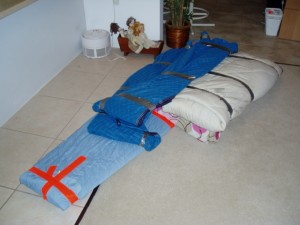


Hi Carl,
I worked with you in the office at Mc Dan, also flew Shadow Traffic. I too will soon be building an RV 7 !
Hope all is well !
Rich Kastrava